Subscribe For Weekly New Recipes!
Maple Leaf Bars with Ferris Nut
Hello friends and happy fall! I can’t believe it’s already February. This year has gone by so fast! It finally started to feel like an actual fall here in Michigan last week, so this week we are celebrating with a brand new Maple Leaf Bars recipe in partnership with one of my favorite companies and go-to coffee shops, Ferris Nut & Coffee! First off, if you live in West Michigan and haven’t visited Ferris, RUN and try all their fall special drinks!
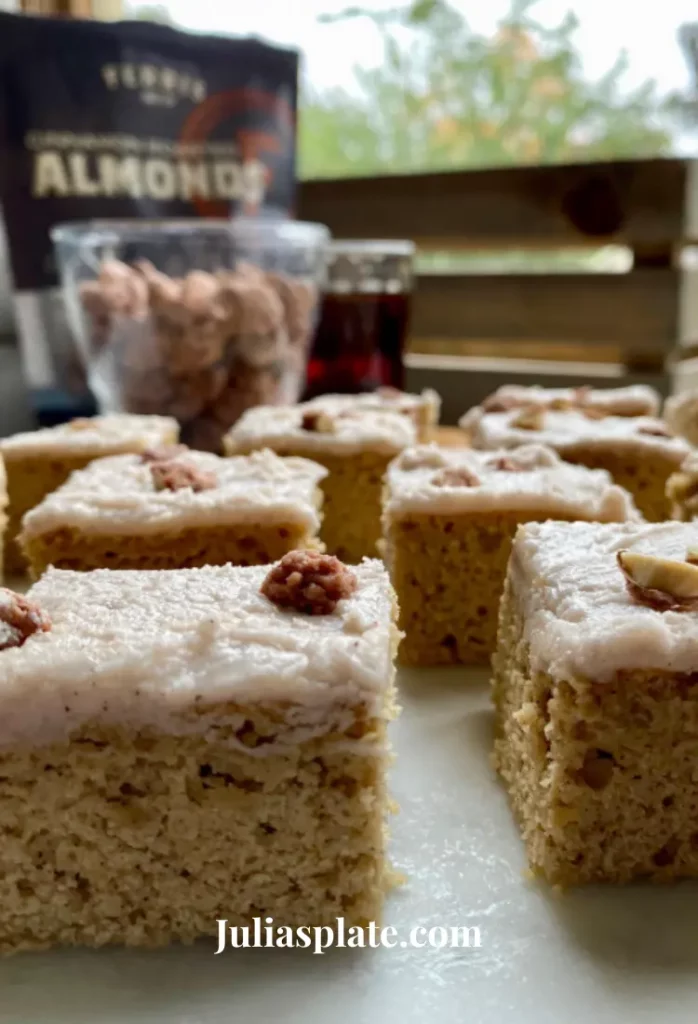
Today’s recipe is inspired by one of these fall drinks, the Maple Leaf Latte! The Maple Leaf Latte is made of oat milk, allspice, and Michigan maple syrup. It’s the perfect companion for a chilly fall walk, a coffee date with a loved one, or a long day of work.
But, if you don’t live near a Ferris, never fear! These Maple Leaf Bars can be made anywhere and will give you the same fall flavor. Plus, they’re gluten-free, dairy-free, and sweetened with maple syrup.
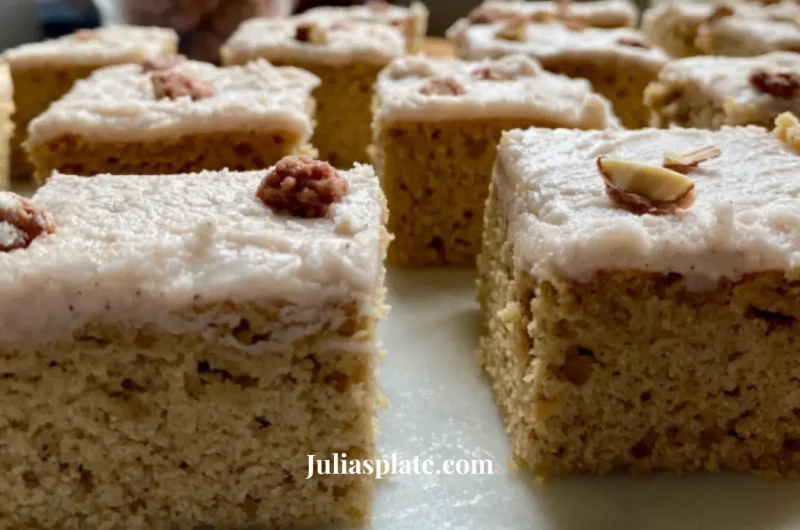
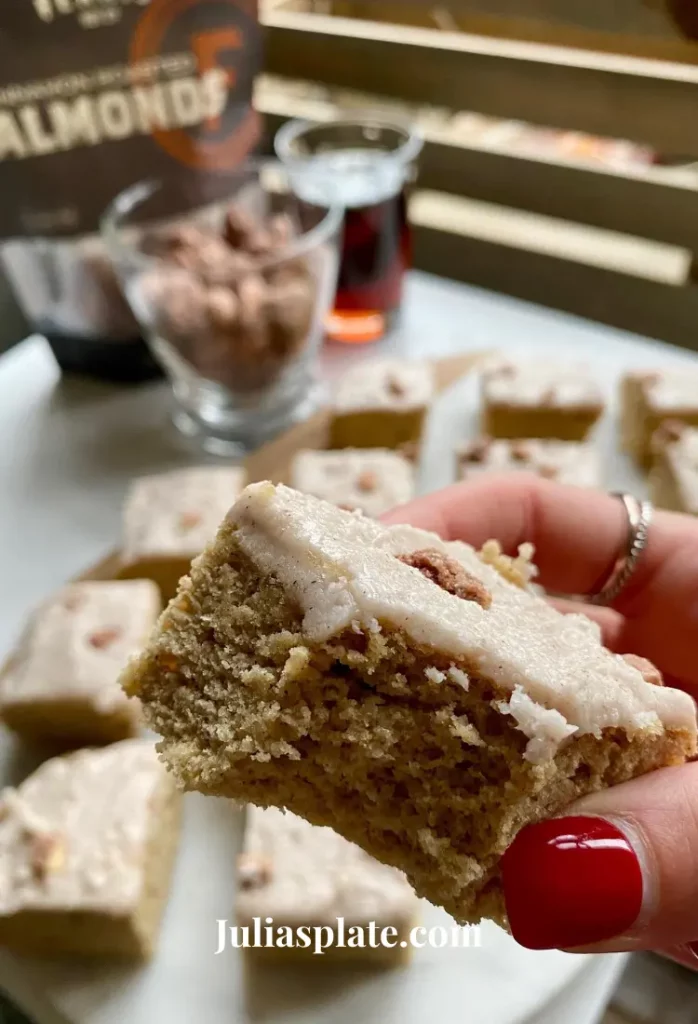
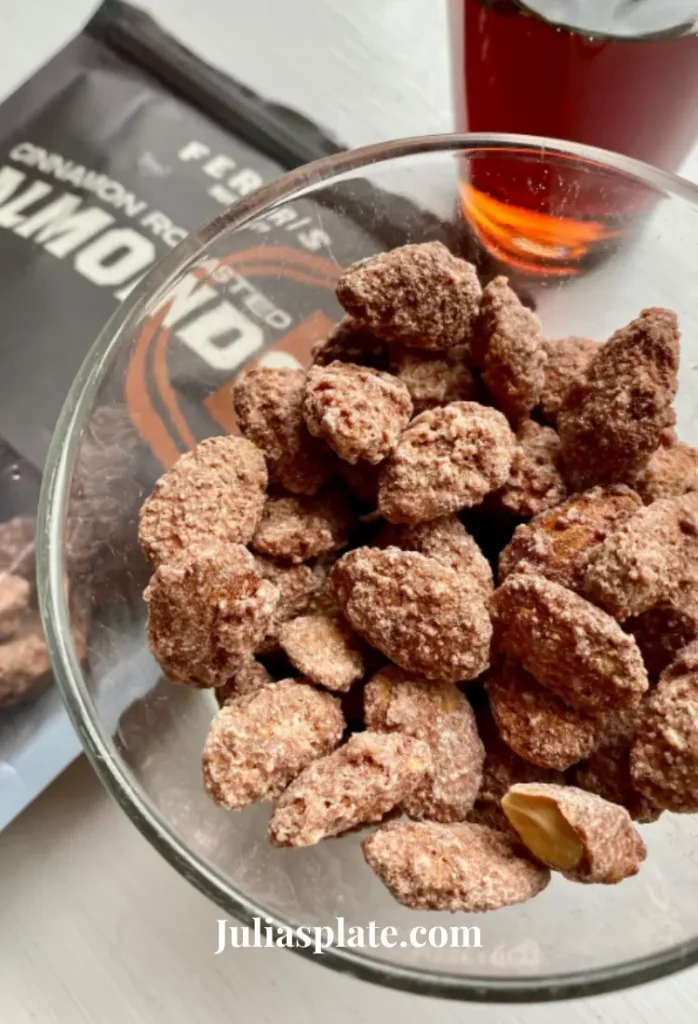
They’re made up of a fluffy cake-like base, topped with creamy vanilla + cinnamon icing, and finished with the perfect crunch of Ferris Nut & Coffee Cinnamon Roasted Almonds!
Why do I love these Maple Leaf Bars?
- Everyone can enjoy gluten-free flour, perfect for dietary needs.
- Simple steps and a few ingredients make this dessert stress-free and stunning.
- The key, maple syrup, adds rich sweetness, blending perfectly with fall spices and Ferris Nut topping.
Ingredients
Wet Ingredients
- 2 Eggs
- 1/4 cup Oat milk
- 3/4 cup Maple syrup
- 1 tsp Vanilla extract
Dry Ingredients
- 1+3/4 cup All-Purpose Gluten-Free Flour, *loosely packed
- 1/4 tsp Baking powder
- 1/4 tsp Baking soda
- 1/2 tsp Cinnamon
- 1/4 tsp All Spice
Toppings
- 1/4 cup Ferris Nut + Coffee Cinnamon Roasted Almonds
- 2+1/2 cups Powdered Sugar
- 2-3 tbsp Oat milk
Kitchen Equipment Needed
- Mixing bowls
- 8×8 baking dish or parchment paper
- Whisk
- Measuring cups and spoons
- Knife
- Cooling rack
How to Make Maple Leaf Bars
Step 1:
Preheat oven to 350F.
Step 2:
Lightly grease an 8×8 baking dish or line with parchment paper.
Step 3:
In a mixing bowl, combine eggs, oat milk, maple syrup, and vanilla extract.
Step 4:
In a separate bowl, combine flour, baking powder, baking soda, cinnamon, and allspice.
Step 5:
Combine wet and dry ingredients into one bowl and stir until thoroughly combined. *The batter should be thick, but pourable.
Step 6:
Transfer the batter to a baking dish and bake for 20 minutes or until a knife comes out clean.
Step 7:
Allow bars to cool completely.
Step 8:
While cooling, combine powdered sugar with oat milk, 1/2 tbsp at a time, until a frosting consistency forms. Or, use any vanilla icing/frosting.
Step 9:
Once completely cooled, top bars with icing and sprinkle with chopped Cinnamon Roasted Almonds.
Step 10:
Slice into bars and enjoy!
Tips
- Sift gluten-free flour to avoid lumps and ensure a silky texture.
- You can store these bars in the baking dish, loosely covered with foil for 1-2 days, but just be sure to heat them for 10-15 seconds in the microwave before enjoying them
- To know when it’s done, insert a knife – it should come out clean.
- Add oat milk gradually to control frosting consistency.
What to Pair with These Maple Leaf Bars?
Enjoy these Maple Leaf Bars with diverse options. I love to Pair them with some fluffy pancakes for a cozy perfect breakfast, For drinks there’s nothing better than hot chocolate with these Bars, Also chai tea and apple cider can be a great option to try with these Bars.

FAQ
Can I use regular flour instead of gluten-free flour?
If you don’t have gluten concerns, feel free to use regular All-Purpose Flour in the same quantity.
How long do the Maple Leaf Bars last, and how should I store them?
Store in an airtight container at room temperature for up to 3 days. For a longer shelf life, refrigerate for up to a week.
Can I freeze the bars?
Yes, they freeze well. Wrap individually and store in a freezer-safe container for up to 2 months.
Can I use pre-roasted almonds for the topping?
Save time by using pre-roasted almonds and add a pinch of cinnamon for that Ferris Nut twist.
More Desserts recipes:
Conclusion
Now you can make your own Maple Leaf Bars. These tasty bars combine the rich maple taste with the cozy warmth of autumn spices. Share the joy by baking a batch for your family as I did. Don’t miss out on more seasonal recipes by subscribing to my blog.
Maple Leaf Bars with Ferris Nut
Course: DessertCuisine: AmericanDifficulty: Easy12
servings15
minutes20
minutes400
kcal35
minutesNow you can Delight in the taste of autumn with these easy-to-make gluten-free Maple Leaf Bars. The mix of maple sweetness, warm spices, and a topping of Ferris Nut + Coffee Cinnamon Roasted Almonds makes them a tasty indulgent dessert.
Ingredients
- Wet Ingredients
2 Eggs
1/4 cup Oat milk
3/4 cup Maple syrup
1 tsp Vanilla extract
- Dry Ingredients
1+3/4 cup All-Purpose Gluten-Free Flour, *loosely packed
1/4 tsp Baking powder
1/4 tsp Baking soda
1/2 tsp Cinnamon
1/4 tsp All Spice
- Toppings
1/4 cup Ferris Nut + Coffee Cinnamon Roasted Almonds
2+1/2 cups Powdered Sugar
2-3 tbsp Oat milk
Directions
- Preheat oven to 350F.
- Lightly grease an 8×8 baking dish or line with parchment paper.
- In a mixing bowl, combine eggs, oat milk, maple syrup, and vanilla extract.
- In a separate bowl, combine flour, baking powder, baking soda, cinnamon, and allspice.
- Combine wet and dry ingredients into one bowl and stir until thoroughly combined. *Batter should be thick, but pourable.
- Transfer the batter to a baking dish and bake for 20 minutes or until a knife comes out clean.
- Allow bars to cool completely.
- While cooling, combine powdered sugar with oat milk, 1/2 tbsp at a time, until a frosting consistency forms. Or, use any vanilla icing/frosting.
- Once completely cooled, top bars with icing and sprinkle with chopped Cinnamon Roasted Almonds.
- Slice into bars and enjoy!
Notes
- Sift gluten-free flour to avoid lumps and ensure a silky texture.
- You can store these bars in the baking dish, loosely covered with foil for 1-2 days, but just be sure to heat them for 10-15 seconds in the microwave before enjoying them
- To know when it's done, insert a knife – it should come out clean.
- Add oat milk gradually to control frosting consistency.

