Subscribe For Weekly New Recipes!
Strawberry Crunch Cheesecake Cones
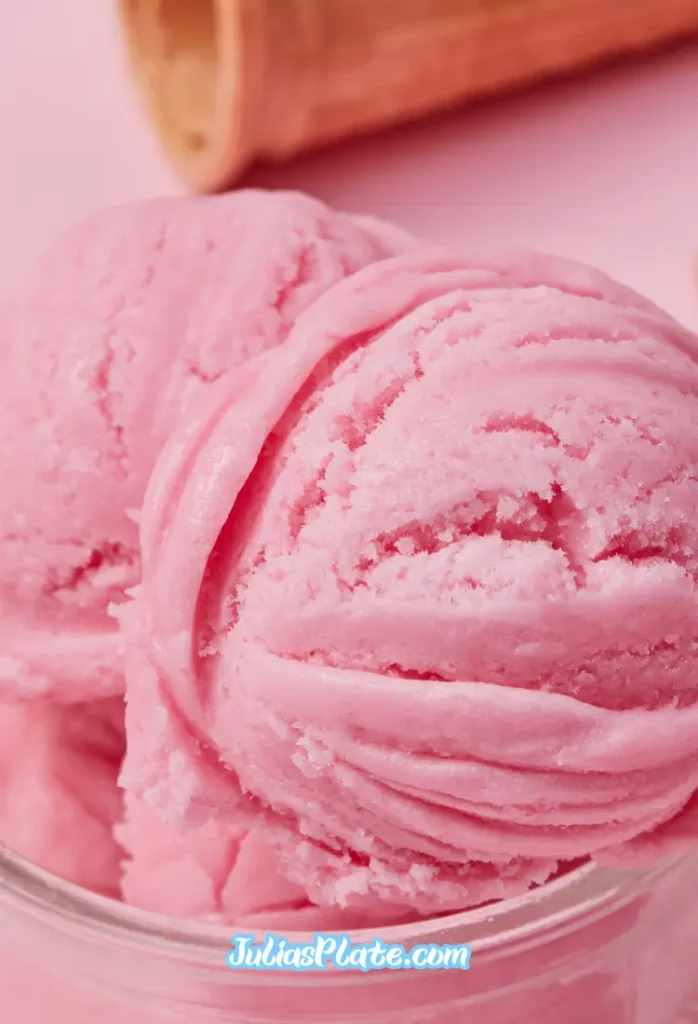
With two kids at home, my daughter’s love for strawberries is undeniable. From muffins to smoothies, she adores them in every form. With sunny days ahead, I searched for an easy homemade ice cream recipe featuring strawberries. That’s when I discovered the irresistible Strawberry Crunch Cheesecake Cones.
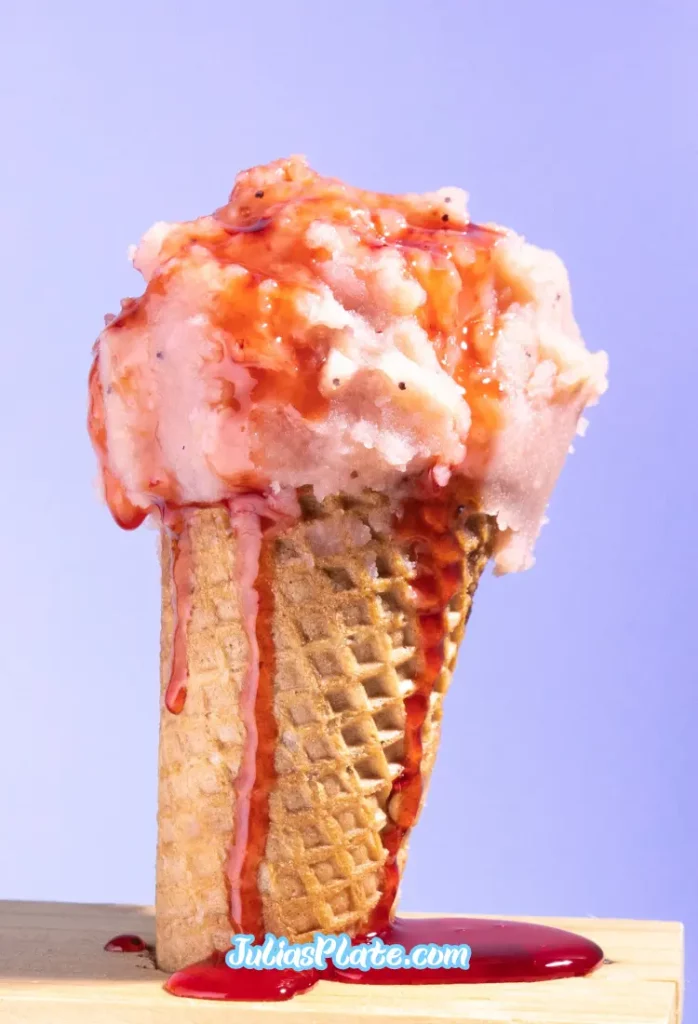
My family can’t get enough of cheesecakes, especially our favorite, Lychee Cheesecake. So, when I discovered the idea of blending strawberries with cheesecake and crunchy cones, I was sold. It’s a delicious treat that both kids and I and my husband will adore.
This Strawberry Crunch Cheesecake Cones recipe is for people who love yummy desserts that make them smile, making these strawberry crunch cheesecake cones is super fun. They’re great for parties, hanging out with friends, or just chilling at home.
What is Strawberry Crunch Cheesecake Cones?
Strawberry Crunch Cheesecake Cones are a dessert that looks like ice cream cones combining creamy cheesecake with fresh strawberries inside a crispy cone. To make them, you need to mix cream cheese with sugar and vanilla, then add whipped cream to make it super smooth. We also make a strawberry sauce by cooking strawberries with sugar, We fill ice cream cones with the cheesecake mixture, top them with the strawberry sauce, and then chill them in the fridge. They’re so tasty because they’re sweet, creamy, and crunchy all at once, perfect for sunny days.
Ingredients
Now, let’s gather our ingredients for these delectable strawberry crunch cheesecake cones:
- Cream cheese (8 ounces)
- Powdered sugar (1/2 cup)
- Heavy cream (1 cup)
- Vanilla extract (1 teaspoon)
- Fresh strawberries (1 cup, diced)
- Graham cracker crumbs (1 cup)
- Butter (1/4 cup, melted)
- Sugar (1/4 cup)
- Ice cream cones (8 cones)
Kitchen Equipment Needed
- Mixing bowls
- Electric mixer
- Spoon or spatula
- Piping bag with a large star tip
- Baking sheet
- Cooling rack
- Ice cream cone holder (optional but helpful for assembly)
How to Make Strawberry Crunch Cheesecake Cones?
Prepare the Cheesecake Filling
- Beat 8 ounces of cream cheese in a mixing bowl until smooth.
- Gradually add 1/2 cup of powdered sugar and 1 teaspoon of vanilla extract, beating until well combined.
- In a separate bowl, whip 1 cup of heavy cream until stiff peaks form.
- Gently fold the whipped cream into the cream cheese mixture until smooth and creamy. Set aside.
Prepare the Strawberry Sauce
- Dice 1 cup of fresh strawberries and place them in a saucepan with 1/4 cup of sugar over medium heat.
- Cook until the strawberries break down and release their juices, stirring occasionally.
- Remove from heat and let cool.
Assemble the Crunchy Cones
- Mix 1 cup of graham cracker crumbs with 1/4 cup of melted butter in a small bowl until well combined.
- Spoon the mixture into 8 ice cream cones, pressing down gently to form a solid base.
Fill the Cones
- Spoon the prepared cheesecake filling into a piping bag fitted with a large star tip.
- Pipe the filling into each cone, leaving a little space at the top for the strawberry sauce.
Top with Strawberry Sauce
- Drizzle the cooled strawberry sauce over the cheesecake filling in each cone, allowing it to cascade down the sides for a decorative touch.
Chill and Serve
- Place the filled cones on a baking sheet and refrigerate for at least 1 hour to allow the cheesecake filling to set.
- Once chilled, serve your strawberry crunch cheesecake cones and enjoy it with your family.

Tips
- Ensure that your cream cheese and heavy cream are at room temperature before using them.
- For an extra crunch, toast the graham cracker crumbs in the melted butter before spooning them into the ice cream cones.
- Use a piping bag to fill the cones with the cheesecake mixture. This will ensure that each cone is evenly filled and looks professionally done.
- For the best taste and texture, chill the filled cones in the refrigerator for at least an hour before serving.
What to Pair with these Cheesecake Cones?
You can enjoy your Strawberry Crunch Cheesecake Cones with some chocolate brownies if you like, you can add some of the cheesecake filling on top of the brownies, or fruity popsicles can be a good option too if you want an ice cream party. And to wash it all down, try pairing them with cold milk, strawberry lemonade, or a refreshing fruit smoothie.
FAQ
Can I use frozen strawberries instead of fresh ones for the sauce?
Yes, you can use frozen strawberries if fresh ones aren’t available. Just make sure to thaw them before cooking.
How long do the cheesecake cones need to chill in the fridge?
It’s best to chill them for at least 1 hour to allow the filling to set, but longer is fine too.
Can I use pre-made cheesecake filling instead of making it from scratch?
Absolutely! Using pre-made filling can save time and still result in delicious cones.
Do I have to use ice cream cones, or can I use something else?
Ice cream cones work best for this recipe, but you can get creative and try using mini tart shells.
Can I make the cheesecake filling ahead of time?
Yes, you can make the filling a day in advance and store it in the refrigerator until you’re ready to assemble the cones.
How long will the cheesecake cones stay fresh?
Stored in an airtight container in the refrigerator, the cones will stay fresh for 2-3 days. But they’re so yummy, they usually get eaten up pretty quickly, especially if you have little kids.
Conclusion
I love making my little ones happy, and sometimes the recipes I whip up for them end up becoming my favorites too, just like these Strawberry Crunch Cheesecake Cones. They’re such a hit, especially on hot days. I can’t resist indulging in these tasty treats along with them. If you enjoyed this recipe, be sure to share it with your friends and family! Subscribe to my blog for more ice cream recipes.
Strawberry Crunch Cheesecake Cones
Course: DessertCuisine: AmericanDifficulty: Easy8
servings30
minutes5
minutes350
kcal35
minutesThese strawberry crunch cheesecake cones are a tasty fusion of creamy cheesecake filling and sweet strawberry sauce, all nestled within crispy cones for a perfect blend of textures. Ideal for dessert lovers looking for something sweet and satisfying.
Ingredients
Cream cheese (8 ounces)
Powdered sugar (1/2 cup)
Heavy cream (1 cup)
Vanilla extract (1 teaspoon)
Fresh strawberries (1 cup, diced)
Graham cracker crumbs (1 cup)
Butter (1/4 cup, melted)
Sugar (1/4 cup)
Ice cream cones (8 cones)
Directions
- Prepare the Cheesecake Filling
- Beat 8 ounces of cream cheese in a mixing bowl until smooth.
- Gradually add 1/2 cup of powdered sugar and 1 teaspoon of vanilla extract, beating until well combined.
- In a separate bowl, whip 1 cup of heavy cream until stiff peaks form.
- Gently fold the whipped cream into the cream cheese mixture until smooth and creamy. Set aside.
- Prepare the Strawberry Sauce
- Dice 1 cup of fresh strawberries and place them in a saucepan with 1/4 cup of sugar over medium heat.
- Cook until the strawberries break down and release their juices, stirring occasionally.
- Remove from heat and let cool.
- Assemble the Crunchy Cones
- Mix 1 cup of graham cracker crumbs with 1/4 cup of melted butter in a small bowl until well combined.
- Spoon the mixture into 8 ice cream cones, pressing down gently to form a solid base.
- Fill the Cones
- Spoon the prepared cheesecake filling into a piping bag fitted with a large star tip.
- Pipe the filling into each cone, leaving a little space at the top for the strawberry sauce.
- Top with Strawberry Sauce
- Drizzle the cooled strawberry sauce over the cheesecake filling in each cone, allowing it to cascade down the sides for a decorative touch.
- Chill and Serve
- Place the filled cones on a baking sheet and refrigerate for at least 1 hour to allow the cheesecake filling to set.
- Once chilled, serve your strawberry crunch cheesecake cones and enjoy it with your family.
Notes
- Ensure that your cream cheese and heavy cream are at room temperature before using them.
- For an extra crunch, toast the graham cracker crumbs in the melted butter before spooning them into the ice cream cones.
- Use a piping bag to fill the cones with the cheesecake mixture. This will ensure that each cone is evenly filled and looks professionally done.
- For the best taste and texture, chill the filled cones in the refrigerator for at least an hour before serving.
